
How to Make Graphene-Based Conductive Ink
Introduction
I used to be skeptical that anyone could make graphene conductive ink at home using only basic materials like graphite powder, chemicals from a hardware store, and some kitchen tools. But after spending a few days experimenting, testing, and failing (a lot), I finally succeeded in producing a usable batch of graphene-based conductive ink. It can be used for printing flexible circuits, painting sensors, or even just experimenting with conductivity on paper and plastic. Pretty exciting stuff!
Online tutorials often skip over the tricky steps or suggest expensive materials and tools, which can be discouraging for beginners. So in this guide, I’ve put together a low-cost, beginner-friendly way to make your own conductive ink using graphene oxide or exfoliated graphene derived from pencil graphite or graphite powder.
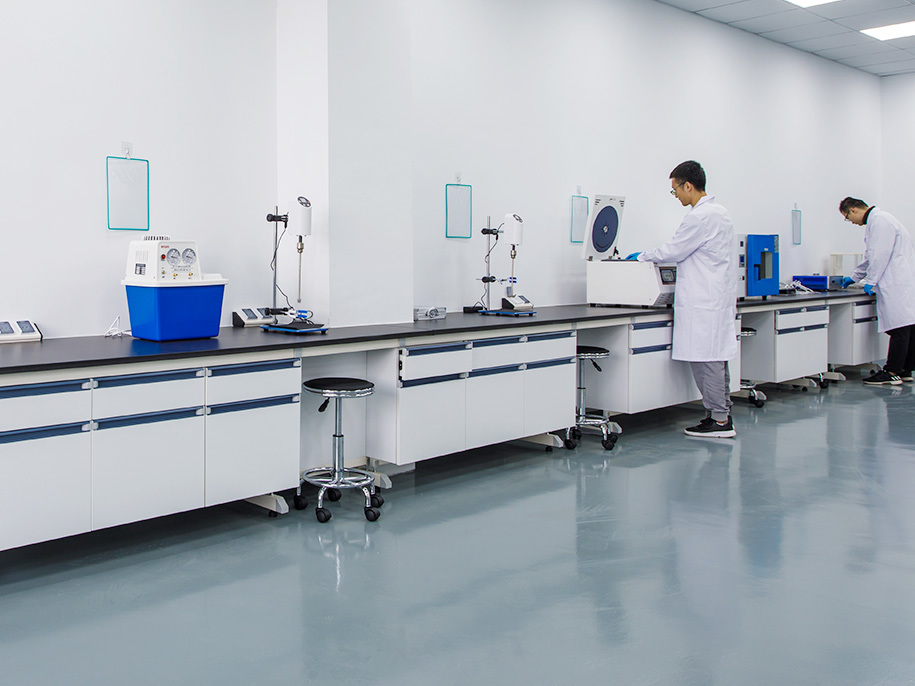
We’ll use common labware, simple tools, and safe chemicals. This tutorial is for hobbyists, students, and makers looking to explore the amazing properties of graphene in a hands-on way.
List of Items
Below is the list of all tools and materials you might need. While some items can be substituted, others are critical. Items marked with “optional” are nice to have but not essential.
Components List
| Item | Quantity | Remark |
|---|---|---|
| Graphite Powder / Pencil Leads | 1 bottle | 200 mesh graphite is ideal. Can also use 8B pencil leads. |
| Surfactant (e.g. SDS, Tween 20) | 1 bottle | Helps disperse graphene in water or ethanol. |
| Isopropyl Alcohol (IPA, >90%) | 1 bottle | Used as solvent and carrier. |
| Deionized Water | 1 bottle | Improves dispersion quality. |
| Blender or Ultrasonic Cleaner | 1 | For exfoliating graphite into graphene. |
| Beaker or Glass Jar | 2–3 | For mixing and storage. |
| Syringe Filter (0.45 μm) | 2 | Optional, for purifying the dispersion. |
| Binder (e.g. PVP, PEG, or CMC) | 1 small | Adds viscosity to make printable ink. |
| Conductivity Substrate (Paper, PET film, etc.) | As needed | Where the ink will be applied. |
Required Tools
-
Protective gloves and mask
-
Magnetic stirrer or handheld stirrer
-
Dropper or pipette
-
Measuring spoon or scale
-
Small funnel
-
Heat gun or oven (for curing the ink)
DIY Steps
Step 1. Exfoliate the Graphene
1.1. Mix Graphite with Surfactant:
In a glass beaker, add ~2g graphite powder and 100ml of deionized water with 0.5g of surfactant (SDS or dish soap can work in a pinch). Stir gently until it looks uniform.
1.2. Blend or Ultrasonicate:
Use a blender at medium speed for 30–60 minutes, or use an ultrasonic bath for 1 hour to exfoliate graphite into graphene flakes. The solution should turn dark gray or black.
1.3. Let it Rest:
Allow the mixture to settle overnight. The heavier particles sink; you only want the top ~70% of the liquid. This is your graphene dispersion.
Step 2. Filter and Concentrate
2.1. Use a Syringe Filter:
(optional but recommended) Filter the top liquid through a 0.45μm syringe filter into another clean container. This removes any larger particles that may clog your ink nozzle.
2.2. Evaporate Excess Water:
Use a heat gun or allow to air dry until the solution becomes more viscous and suitable for screen printing or brush painting.
Step 3. Add Binder and Solvent
3.1. Prepare the Binder Mix:
In a separate container, dissolve ~0.5g of PVP or PEG in 10ml of isopropyl alcohol. This adds “stickiness” to the ink and helps the graphene stick to paper or plastic.
3.2. Mix Everything Together:
Combine the filtered graphene dispersion with the binder solution. Stir well for at least 10 minutes to get a smooth, uniform black ink.
Step 4. Test the Ink
4.1. Apply the Ink:
Use a brush or inkjet refill cartridge to print lines or patterns on paper, PET film, or flexible PCB substrates.
4.2. Dry/Cure the Ink:
Dry the printed area with a heat gun or place in an oven at ~80°C for 10–20 minutes.
4.3. Measure Conductivity:
Use a multimeter to test resistance across printed lines. A well-made ink should show low resistance (<100 ohms for 5cm line).
Step 5. Optional Enhancements
-
For Better Conductivity: Reduce the dried ink with a mild thermal or chemical treatment (e.g., use Vitamin C to reduce graphene oxide).
-
Coloring Additives: Add acrylic or alcohol-based pigments for aesthetic printing.
-
Flexible Circuits: Print on PET film for wearable electronics and sensors.
Final Results
Here’s what the finished product might look like:
-
Smooth, flexible lines on plastic or paper
-
Resistance between 30–100 ohms depending on layer thickness
-
Can power small LEDs or be used with Arduino touch sensors
If you’re curious about applying this in real projects, you can use the ink for:
-
Flexible circuits
-
Touch buttons and wearable sensors
-
EM shielding
-
Printed antennas
Conclusion
Making graphene-based conductive ink at home is absolutely doable. With some graphite, patience, and a blender, you can create a smart material that responds to electricity and opens up a new world of DIY electronics. This method is just a starting point — feel free to improve it with your own experiments!